
Strumming the Strings of Innovation: 3D Printing a Ukulele
Crafting Melodies: The Intersection of Art, Technology, and Music in the Making of a 3D-Printed Ukulele.

Discovering the Harmonic Potential of 3D Printing
As a 3D designer, I've always been drawn to the seemingly limitless potential of this innovative technology. It's a realm where imagination meets reality, where ideas take tangible form. But recently, I've started exploring a fascinating new application of 3D printing – the world of music. Can the precision and flexibility of 3D printing be used to create not just visually appealing forms, but objects that sound beautiful as well? The idea of a 3D-printed ukulele seemed an exciting challenge to take on - a chance to explore whether I could use 3D printing to translate intricate designs into harmonic potential. Turns out though, I’m a pretty average 3d modeler. Other people, way better than me have already created a fantastic ukulele. So instead, I turned my efforts to picking the filament and tuning the slicer settings.
Exploring the Blueprint: Understanding the Design of Our 3D-Printed Ukulele
To embark on this musical journey, it was crucial to begin with a robust and efficient design. For this, I turned to a fully playable 3D-printed ukulele design shared on Instructables, a renowned platform where creators share their DIY projects. This design provided the perfect blueprint for my venture. The aim wasn't to reinvent the wheel, but to understand and respect the original design's intricacies. Studying it was enlightening, each curve, the hollow space, the placement of the soundhole, the little ledges down the inside wall - all these elements contribute to the unique sound of a ukulele. Leveraging this established design, I set out to explore the capabilities of 3D printing in creating a functional, acoustically-pleasing musical instrument.
The instructables post says you can print it in two pieces without supports. So that’s what I wanted to do. 3D printing a ukulele without using supports presented quite a few challenges. Typically, 3D printed objects require supports to prevent sagging or collapsing during the printing process, particularly for designs with overhangs or complex geometries.
In the case of the ukulele, the design's intricacy added to this challenge. The hollow body, necessary for sound resonance, and the delicate curves and contours required for the ukulele's characteristic sound, all posed potential difficulties for support-free printing. Overhangs, particularly around the soundhole and neck joint area, were particularly tricky, requiring precise print settings, like bridging.
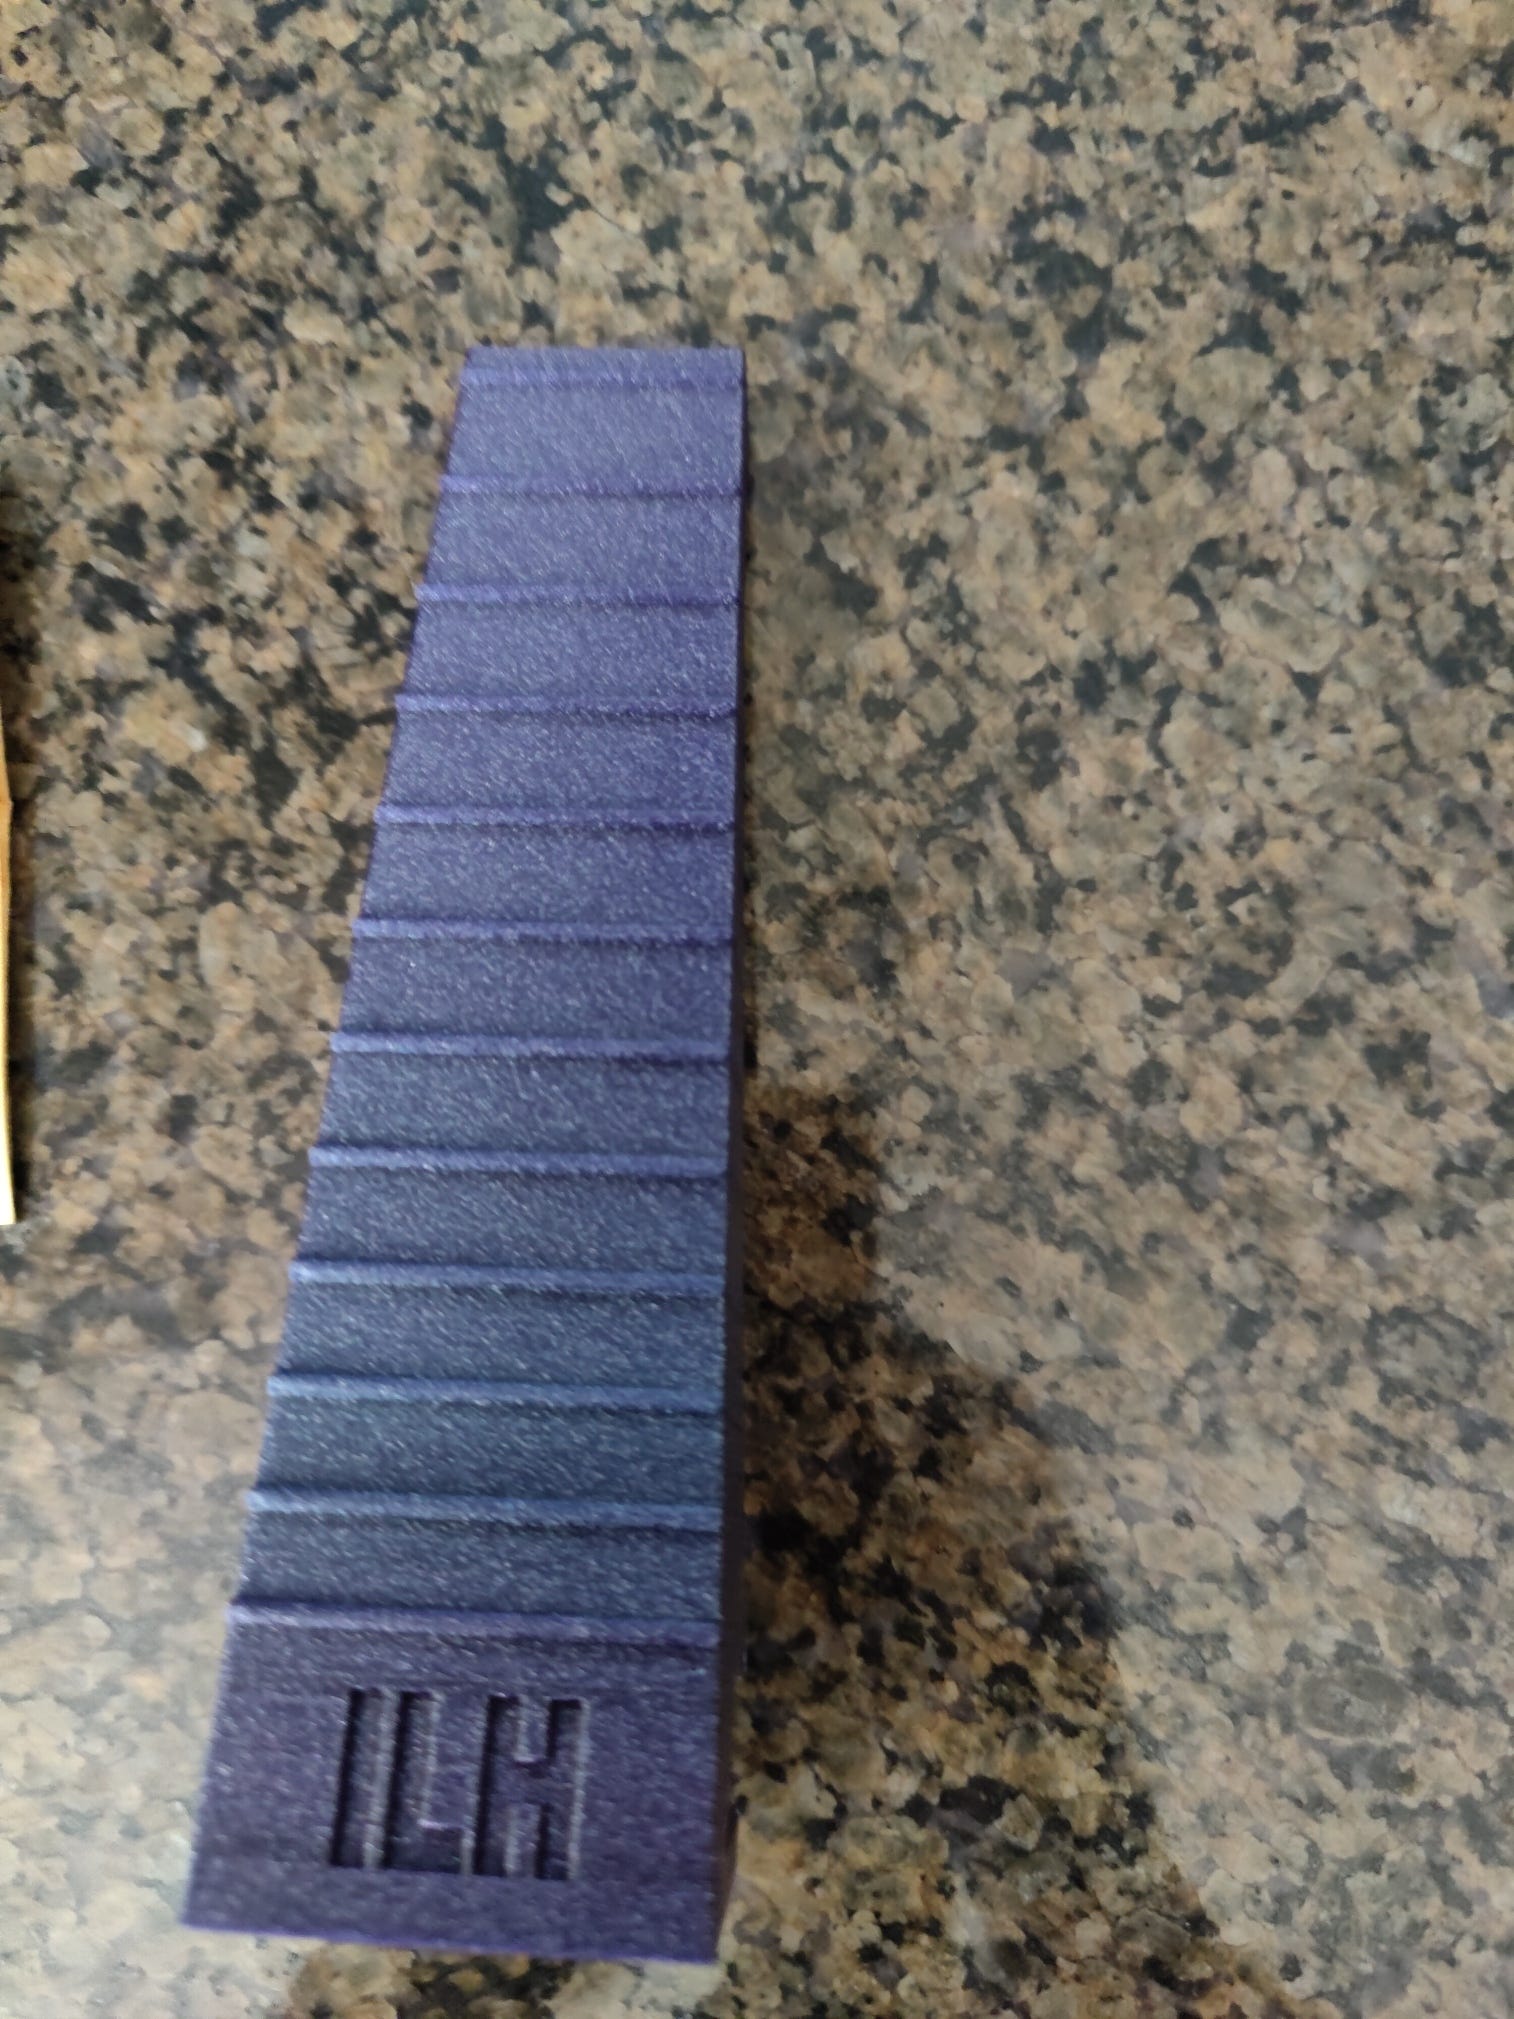
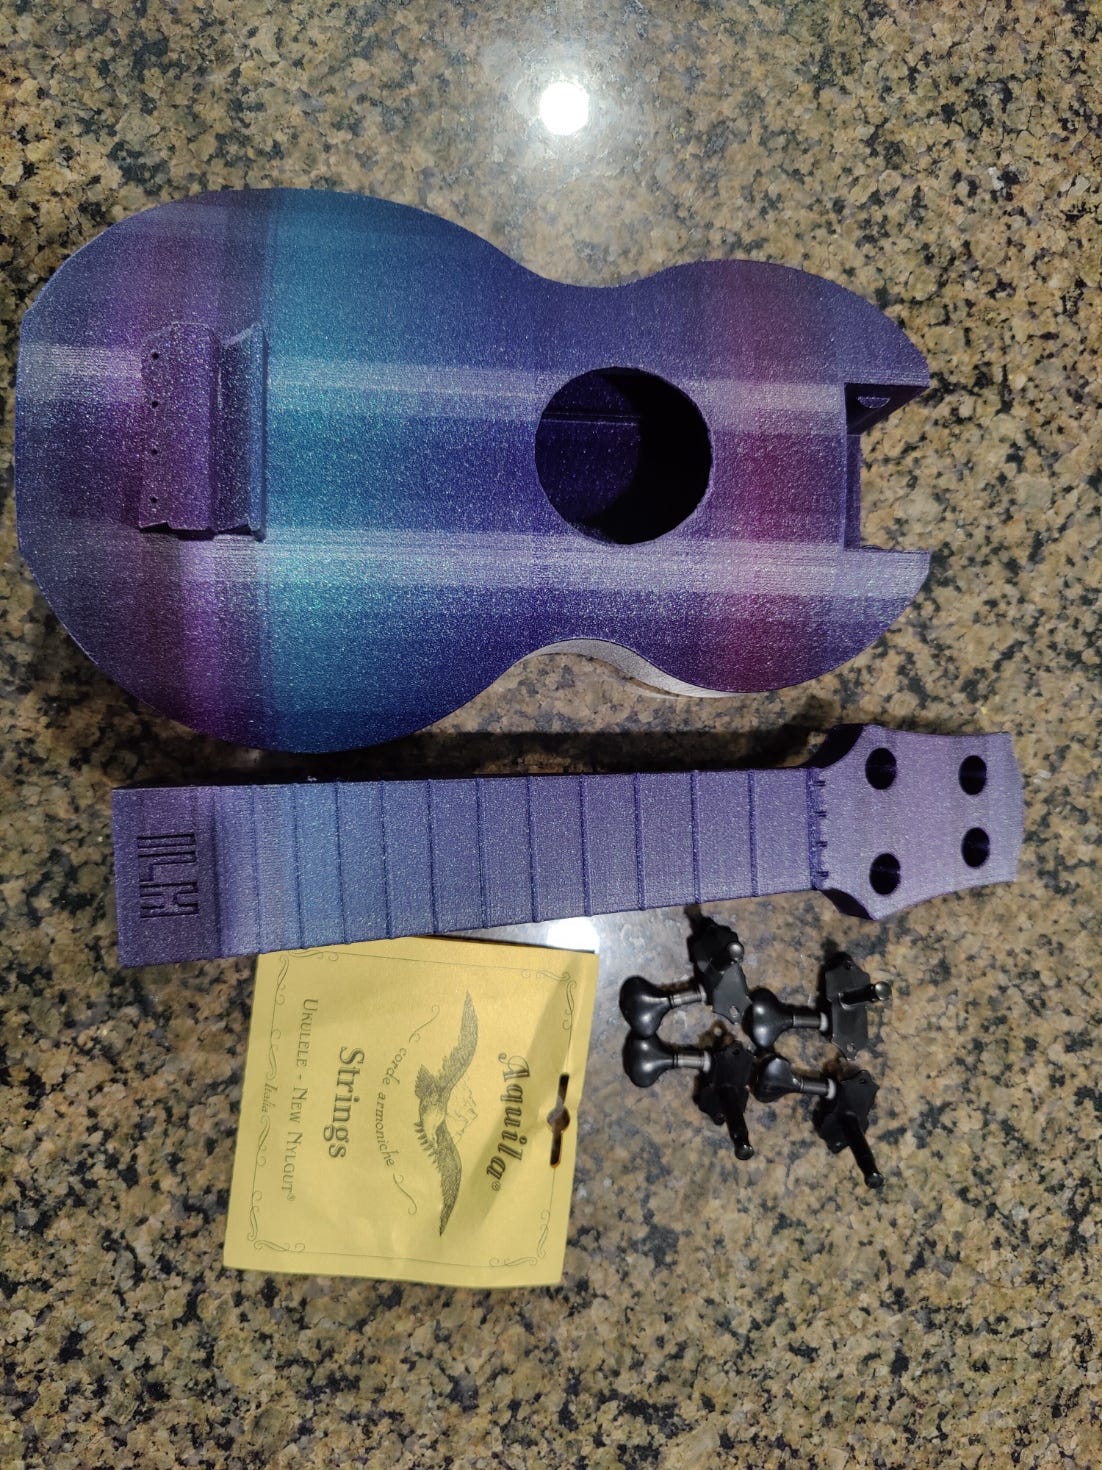
Moreover, choosing the right type of filament was crucial. Some materials exhibit better self-supporting properties than others, reducing the risk of deformation or collapse. I decided to go with one of my personal favorites, Galaxy Chamelon from Stronghero3D. It does get a little stringy at times, but it looks amazing with it’s deep purples and hints of teal. I thought that even if it doesn’t sound great, it will look amazing.
Despite these challenges, the freedom from supports offered significant advantages. It saved material, reduced print time, and avoided the often painstaking task of support removal, preserving the fine details and smooth surfaces of the final print.
From Digital Blueprint to Tangible Instrument: The 3D Printing Journey
Despite meticulous preparation, the journey from a digital blueprint to a tangible instrument wasn't without its share of hurdles. One such unexpected obstacle occurred 80% of the way into the printing process of the ukulele's neck. The printer suffered an internal error, resulting in a failed print. Not many things worse than waking up in the morning after 20+ hours of printing and seeing a giant red message on the screen, leaving behind an incomplete, unusable piece.
Failures like these, while super frustrating, are not uncommon in the world of 3D printing. They remind us that while the technology is transformative, it is not infallible. Whether it's a minor calibration issue or a significant internal error, every glitch and failure brings with it an opportunity to learn, adapt, and improve.
This specific setback led to an inspection and troubleshooting of the printer. There didn’t appear to be anything actually wrong, so I turned it off out of frustration and went about my morning thinking about what to do next. Eventually though, there isn’t much you can do about a likely firmware issue, so I just turned it back on, cleaned the bed and started printing again.
In the subsequent attempt, the printer worked as intended, bringing the digital blueprint of the ukulele neck to life in all its tangible glory. The final product, a testament to overcoming challenges, was not just an instrument but also a symbol of resilience in the face of unexpected obstacles.
However, a new challenge presented itself. The neck didn't fit the body perfectly as expected. This is a common occurrence in 3D printing, where minor deviations in the print can lead to fit issues, especially for parts meant to assemble together.
Addressing this required patience and a steady hand - a lot of sanding, to be precise. It was a process of gradually refining the neck's shape, shaving off just enough material to ensure a snug fit without compromising the structural integrity or the aesthetics of the piece. Once the neck fit perfectly, more sanding followed, this time to smooth out the surfaces and ensure a comfortable grip when playing.
Finally, it was time to bring the pieces together. With the right fit achieved, the neck was carefully glued into place, marking a significant milestone in the creation of the 3D-printed ukulele.
This journey, from a failed print to meticulous adjustments, highlighted the blend of precision, patience, and adaptability that is intrinsic to successful 3D printing. The final product is not just an instrument but also a symbol of resilience in the face of unexpected obstacles.
Here’s all the pieces ready to go together.
Tuning and Testing: Bringing the 3D-Printed Ukulele to Life
Completing the construction was only half the beginning; bringing this 3D-printed ukulele to life was the next step. This involved the critical stages of tuning and testing, which would prove whether the time and effort invested into overcoming printing challenges would pay off.
The initial setup involved attaching the tuning pegs carefully to avoid damaging the printed headstock. Only to find out, I’d purchased the wrong tuning pegs! So a few more days to wait, with this beautiful thing just staring at me. Finally I got the replacement pegs, only to find out, I had STILL purchased the wrong ones. These were designed for a guitar with the pegs all on the same side. Well, they were just going to have to work. Perhaps you experts can tell me if they will continue to work in the comments.
Now it was time for the strings, threading them through the bridge, stretching them up the neck, and winding around the pegs. I had no idea how to do this, so I found a great youtube video that showed me the loop deloo method. What did we do before awesome people teaching us how to do stuff on the internet? Next, each string was tuned to its proper note, and the very first strum of this 3D printed ukulele was a moment of immense satisfaction. The body resonated with a clear though admittedly dull sound, I’d give it a solid B minus.
One thing I learned, a peculiar trait of new ukulele strings is their tendency to stretch and detune repeatedly for a while. The excitement of the first strum was quickly tempered by the realization that constant re-tuning was required. This meant regular adjustments to the tension of the strings, retuning them as they adapted to their new tension and found their 'voice.'
This phase of fine-tuning also involved further subtle modifications, including some additional light sanding to perfect the action. Each tweak brought the ukulele one step closer to the sound and feel of a traditionally crafted instrument. The process culminated in a 3D-printed ukulele that was not only a beautiful object to behold but also a functional instrument capable of captivating melodies. If only I knew how to play!
The Final Chord: Reflections on Creating a 3D-Printed Musical Instrument
As I strum the final chord on my 3D-printed ukulele, I find myself reflecting on this unique journey. From the initial excitement of selecting a proven design to the nerve-wracking printer errors and endless tuning adjustments, each step has been an invaluable learning experience. This project tested not only my technical skills in 3D printing but also my ability to problem solve, adapt, and persevere.
The process was as full of unexpected challenges as it was of surprising rewards. Each failed print, every moment spent sanding, each time I re-tuned the stretching strings, it all added to a deeper understanding of both the capabilities and limitations of 3D printing technology. But more than that, it showcased the potential of this technology to transcend its usual boundaries, to create something that can stir emotions and bring joy through music. Well, someone could. Not me, I don’t even know how to play!
Anyway, here’s me playing 3 chords in an impromptu video short, don’t say I didn’t warn you. Someone convince my daughter to stop playing minecraft and record something!
As I play the final notes on this incredible journey of 3D-printed music-making, I'd love to strike a chord with all of you out there who've joined me on this adventure. If you've found yourself tapping your feet to the beat of my journey, or if my tale has resonated with you, please consider sharing it with others. Every share is like a note in a song, spreading the rhythm and melody to a wider audience.
And just as a ukulele needs its strings regularly tuned to stay harmonious, I need your support to keep these explorations going. So, if you haven't yet, please hit that subscribe button - it's the best way to stay in sync with my future endeavors.
Finally, don't forget to strum the 'like' button if you enjoyed this update. Each 'like' strikes a note of encouragement for me, motivating me to keep exploring the amazing world of 3D printing and sharing these discoveries with you all.
So, let's make some music together! Share, like, subscribe, and let's tune into the future of creativity!
Links to the materials I used:
Tuning pegs | Filament | Strings | Super glue
🌐 Let’s Stay Connected
Want to see more behind-the-scenes updates, early prototypes, and works-in-progress?
Follow me here:
🐘 Mastodon: @Imakethingsforu@mastodon.social
🌤️ Bluesky: @imakethingsforu.bsky.social
I post early experiments, failed prints, and sneak peeks before they become finished pieces. Come say hi!
Oh man. This is beautiful. I might have to get with you for the inside of one of these birdhouses. I’m currently working on a mini bathroom inside