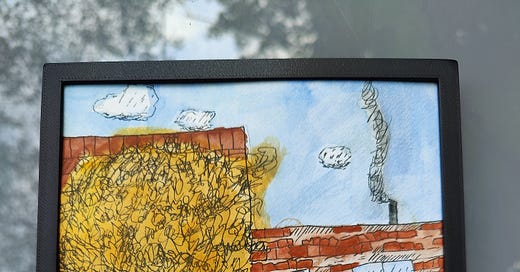
Creating the perfect frame for a piece of custom artwork is no small feat, but when that artwork comes from my daughter's cherished 8 x 6 art book, the stakes feel even higher. Each page, filled with her imaginative drawings and vibrant paintings, deserves a display that honors her creativity. As I embarked on the journey of framing these unique pieces, I quickly discovered the myriad challenges that come with crafting a custom-sized frame. Simply put, 6 x 8 inches is not a standard frame size!From sourcing the right materials to ensuring a precise fit, the process was both daunting and deeply rewarding. Join me as I navigate the intricate world of custom framing, all in the name of showcasing my daughter's artistic masterpieces.
To achieve the perfect fit for my daughter's 8 x 6 artwork, I turned to the precision and versatility of 3D design. Using cad software, I crafted a frame that not only accommodated the unique dimensions of each piece but also left just enough room for a protective layer of acrylic. The 3D design allowed me to visualize every detail, ensuring that the artwork would be securely held without any risk of damage. This digital approach offered a level of customization that traditional framing methods simply couldn't match, enabling me to create a bespoke frame that truly complemented and safeguarded my daughter's creations.
But, with most things it took a bunch of iterations to get right.
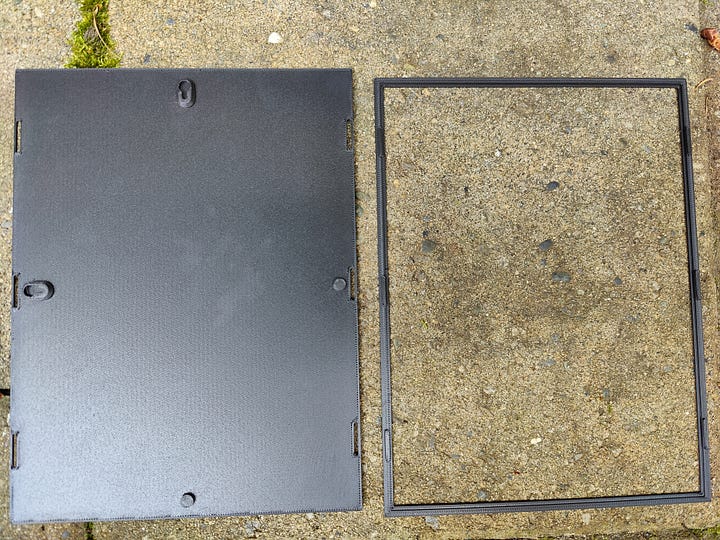
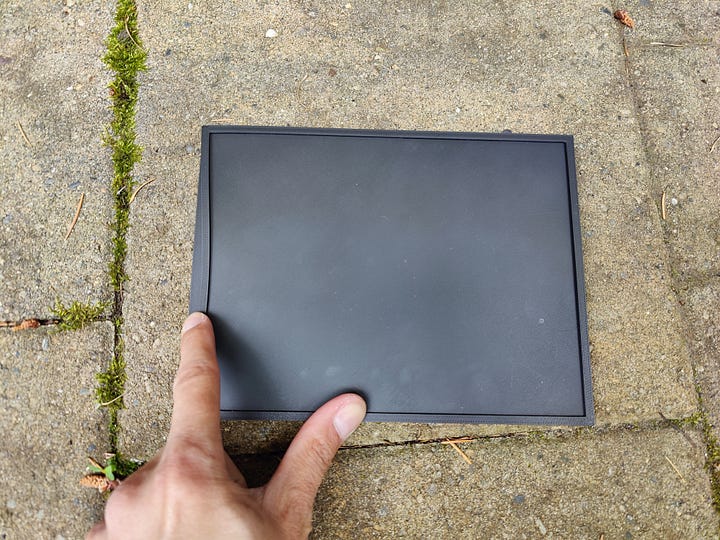
The very first attempt was, how shall I say a complete failure. Every dimension was too flimsy, I forgot to put tabs on the 6 inch side, and the cutout for the print and acrylic was too thin. Then as I was showing my wife she pointed out, the finishing nail piece was upside down! Total failure. This piece is going to get recycled.
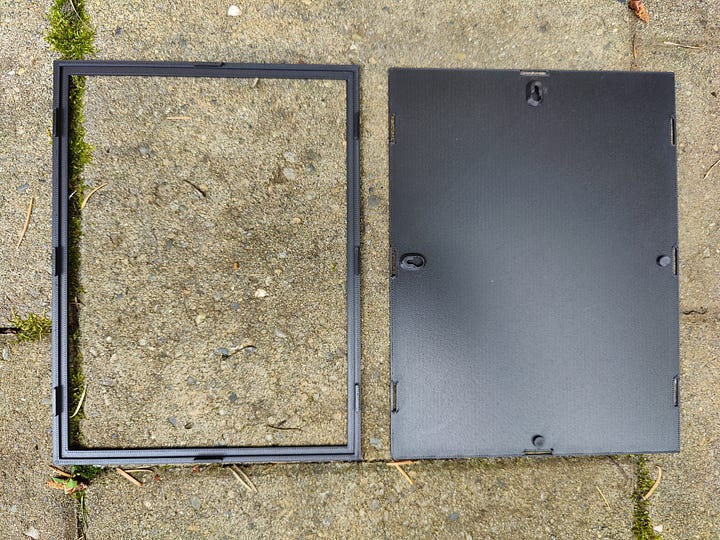
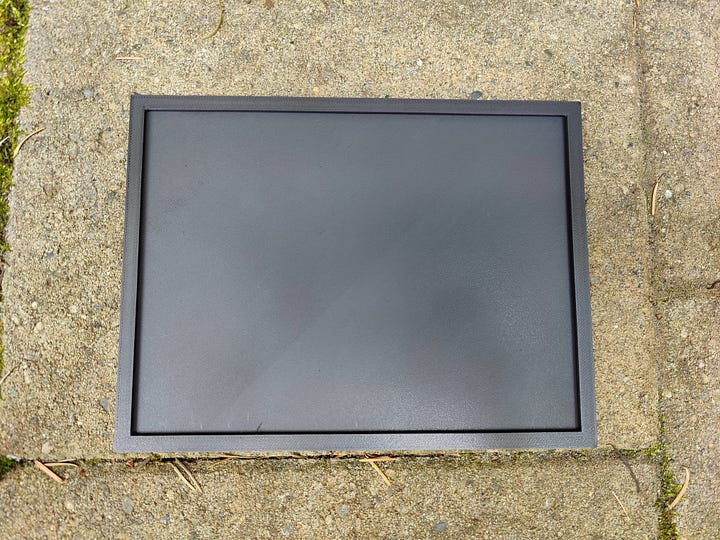
Attempt two, initially I thought was a raging success. I made every dimension just a little thicker or wider, I flipped the mounting pice around so it would, you know… work. Still though it was too flimsy, better but not good enough. Also a problem still, the cutout wasn’t big enough.
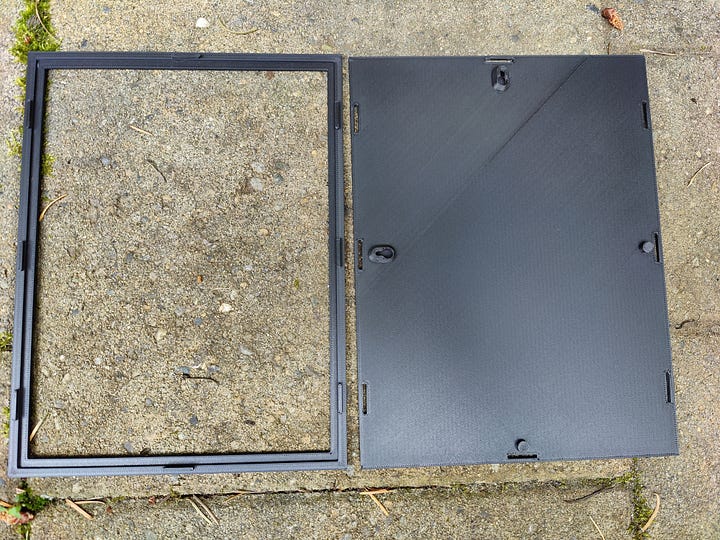
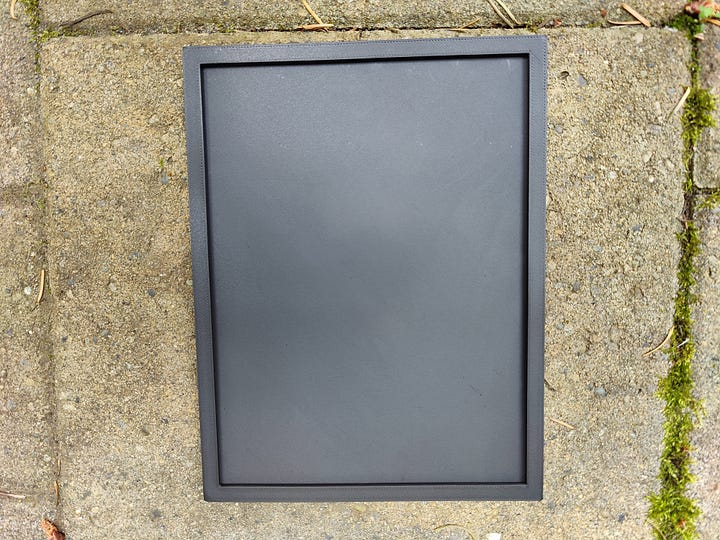
Attempt three! We have a winner….almost… Every dimension just a little stronger, more infill for rigidity, cutout for the arylic and print much deeper. Additionally look closly at the picture on the left, you can see the tabs that hold the pieces together and they work so well! You can put it together and take it apart repeatedly and the tolerances just work. I’m so proud of how it fits. Let’s get some artwork in it already!
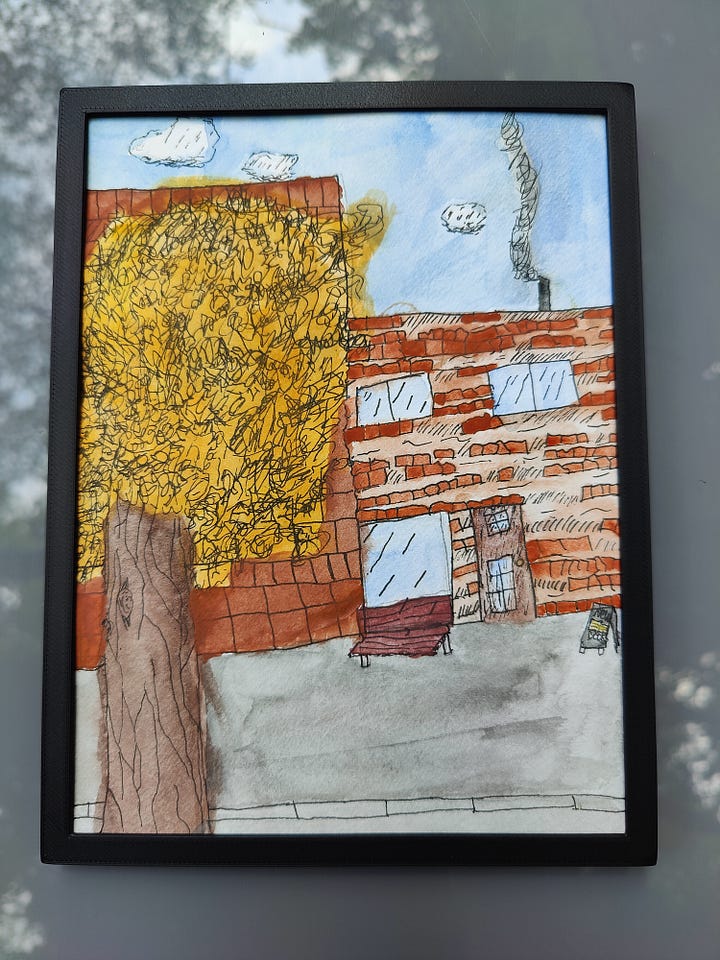
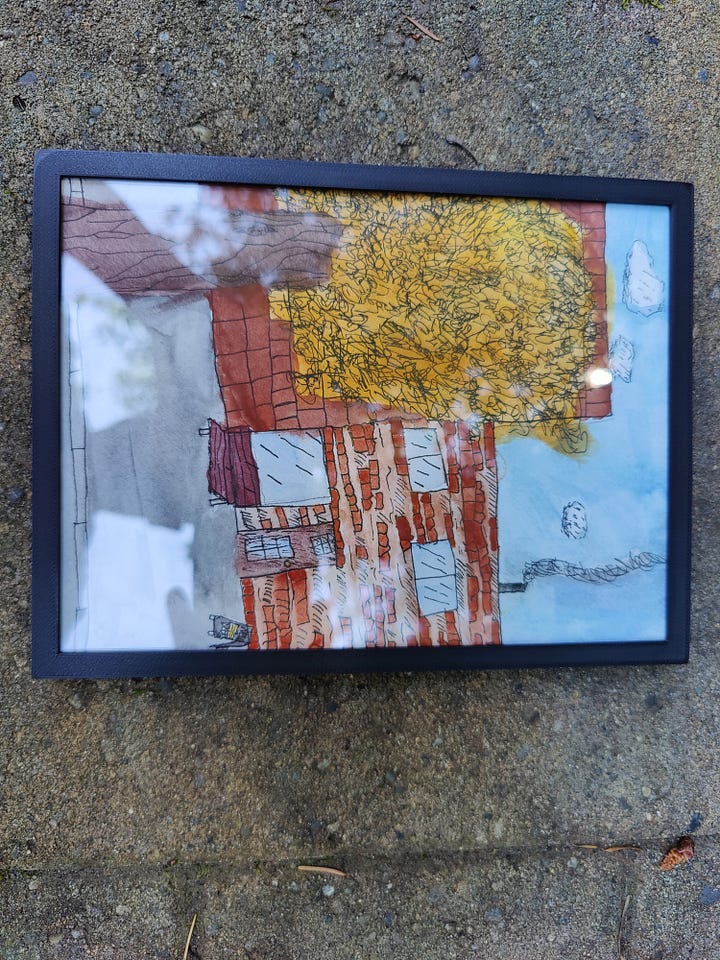
Ok! It’s….still not a big enough cutout…. But it works! The artwork fits, the acrylic fits! But in the next iteration I did adjust out about another quarter millimeter of tolerance just to get it to fit together better. For you #pdx #oregon peeps, this is my daughters take on Franklin street in #portland and I think it’s awesome. Now what have I learned from all of this?
I’ve learned that 8 x 6 is not a standard photo print size, and you can’t just order a bunch of prints for family, however I’m working on that, I’ve identified a company that will make them for me and I’m going to give it a go. What about this frame? Would anyone want an 8 x 6 frame? Should I release the stl’s for the 3d printing community? Should I try to sell the prints? Maybe I could start a college fund for her from her artwork. Leave me a comment on where this project goes, and consider subscribing to see what I do next!
🌐 Let’s Stay Connected
Want to see more behind-the-scenes updates, early prototypes, and works-in-progress?
Follow me here:
🐘 Mastodon: @Imakethingsforu@mastodon.social
🌤️ Bluesky: @imakethingsforu.bsky.social
I post early experiments, failed prints, and sneak peeks before they become finished pieces. Come say hi!

